Running SSL VPN Software on Linux via Virtual Machine
Why?
Many SSL VPN software providers (e.g., Huawei, Sangfor) do not offer Linux clients. To overcome this limitation, we can use a virtual machine (VM) to run the Windows client and bridge the network to Linux. Refer to this post (in Chinese) for more details.
Installing Windows on QEMU (Ubuntu 18.04 Host)
Steps:
- Install Required Packages:
Ensure that
qemu-kvmandvirt-managerare installed:sudo apt-get install qemu-kvm virt-manager - Download Resources:
- Windows installation ISO file.
- VirtIO Drivers ISO: Ensure you use the latest version to avoid network instability.
- Launch Installation:
- Open Virtual Machine Manager and follow the GUI installation steps:

- Follow this guide for detailed instructions.
- Open Virtual Machine Manager and follow the GUI installation steps:
Important Note: Huawei’s VPN software works on Windows 8 or later but not on Windows 7 in my tests.
Setting Up Network Bridging
- Create and Start a Bridge:
sudo ip l add qbr0 type bridge sudo ip l set qbr0 up - Configure the Virtual Machine:
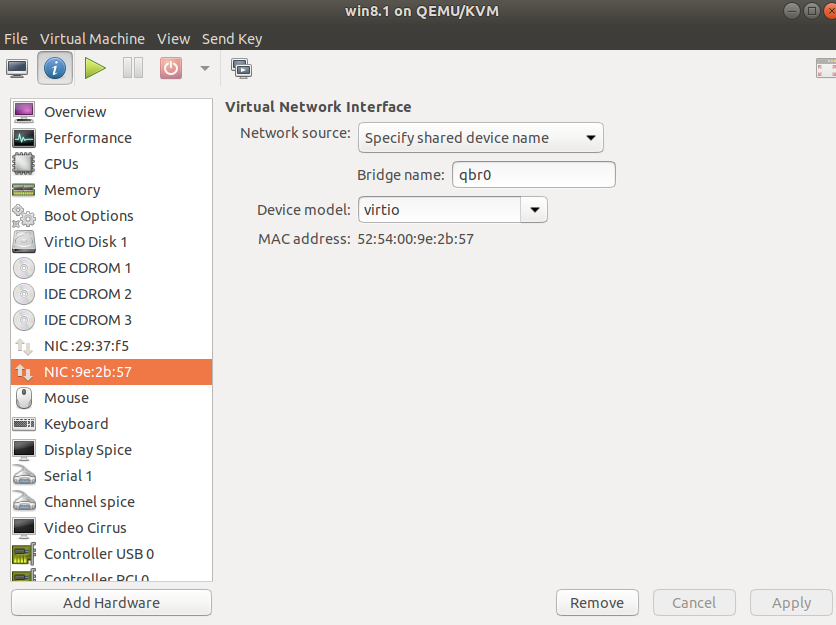
- Add the bridge network card (
qbr0) to your virtual machine.
- Add the bridge network card (
- Enable VPN Network Sharing:
- Share the VPN network card (NC) with the bridge NC in the guest machine.
- Start the VPN Software:
- Run the VPN SSL client on the Windows guest machine.
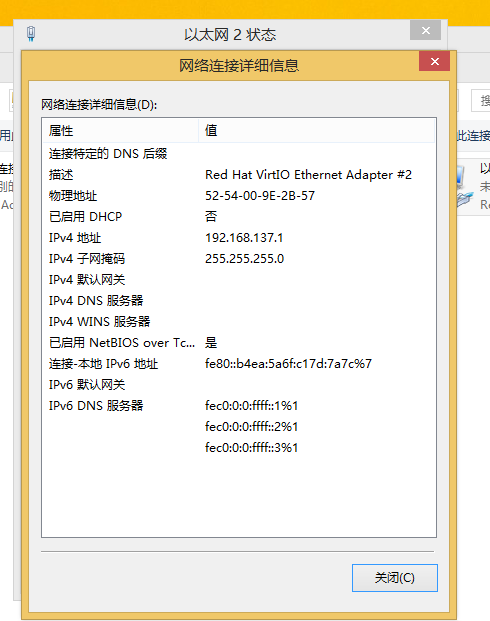
- Configure the bridge NC IP as
192.168.137.1:
- Setup the Bridge on Linux Host:
Execute the following commands to finalize the setup:
sudo ip l add qbr0 type bridge sudo ip l set qbr0 up sudo ip a add 192.168.137.9/24 dev qbr0 sudo ip r add 10.0.0.0/8 via 192.168.137.1 dev qbr0 - Verify the Routing:
Use
ip rto confirm the routes. Example:172.xx.xx.xx: Host network card IP.192.168.122.xx: Virtual machine bridge IP (for internet access).192.168.137.x: Bridge VPN IP.

- Connect to the VPN:
ssh username@10.xx.xx.xx
Acknowledgments
Special thanks to my friend Stephen for helping debug this setup.
Enjoy the complex but rewarding network setup process. Thanks for reading!

Comments